Before I begin this 4 posts series I want to say I’m not compensated by any of the companies I’m going to refer to, not was I given free products. I’ve never taken bread baking classes or any baking classes. Everything it’s from my own experience.
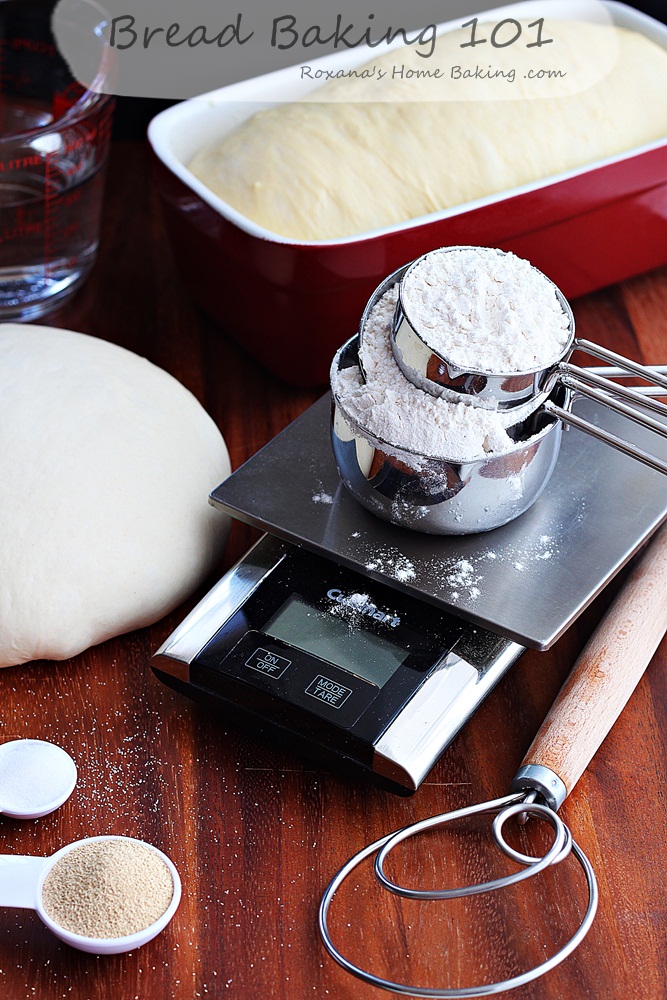
I get a lot of questions about homemade bread. From why mine is not as yellow/white as yours? Why not so soft and fluffy? What brand of flour are you using? Once someone even asked about my oven. Since this year I’ll be hosting Bake your own bread I though I should start by sharing my knowledge about home bread baking. Plus, in my monthly series Behind the Apron I promised I’d talk about bakeware, ingredients and all the mess behind the photos.
There will be 4 posts as part of this series.
Bread Baking 101 – Commonly used ingredients : water, salt, sugar, milk, butter, oil, eggs
Bread Baking 101 – Commonly used ingredients : flour
Bread Baking 101 – Commonly used ingredients : yeast
If you have any questions, please leave them in the comments below.
Today we’re going to talk about equipment.
The first on the list is the Oven. I have an electric double wall oven. I grew up with a gas oven and I remember when I was a kid my grandma used her stone oven. It doesn’t matter what kind of oven you have, what matters is to know your oven.
The first thing you need to do is find out if your oven bakes evenly.
To test your oven heat the oven to 400F. Place the rack in the middle of the oven. While the oven is heated cut enough bread slices to cover a baking sheet as big as your oven. Bake the slices for 15 minutes. Take them out and if in some areas the slices are darker (one of mine is in the back left corner) your oven doesn’t bake evenly. Unfortunately I don’t know a cure for this uneven baking, my only advice is to try remember to rotate the baking sheet at half-time or to avoid completely baking in that corner (use a smaller baking sheet, bake twice instead of everything in one round).
Calling the oven manufacturer might help, haven’t done that. Can’t say much.
Another step in knowing your oven is to know if the temperature is accurate, step that leads to the second piece of equipment – Oven Thermometer.
To check if your oven is calibrated you have to run a couple of tests.
Place the thermometer on the rack positioned in the middle of the oven. Set your oven to heat to 300F. Let the oven on for 30-35 minutes without opening the door. Now open the door and read your thermometer. Does it reads 300F? If it does you’re in luck, if it doesn’t write down the temperature shown on the thermometer.
Now set the oven to 350F. Without opening the door let the oven heat for another 30-35 minutes. Open and read again the thermometer. Is it the same temperature difference? Write it down.
Close the door and set your oven to heat to 400F. Open the door after another 30 minutes and check the temperature.
Most oven have the same temperature difference (usually +\- 25F) no matter how hot you heat up your oven.
Keep in mind these notes every time you bake something. We want to be successful, don’t we?
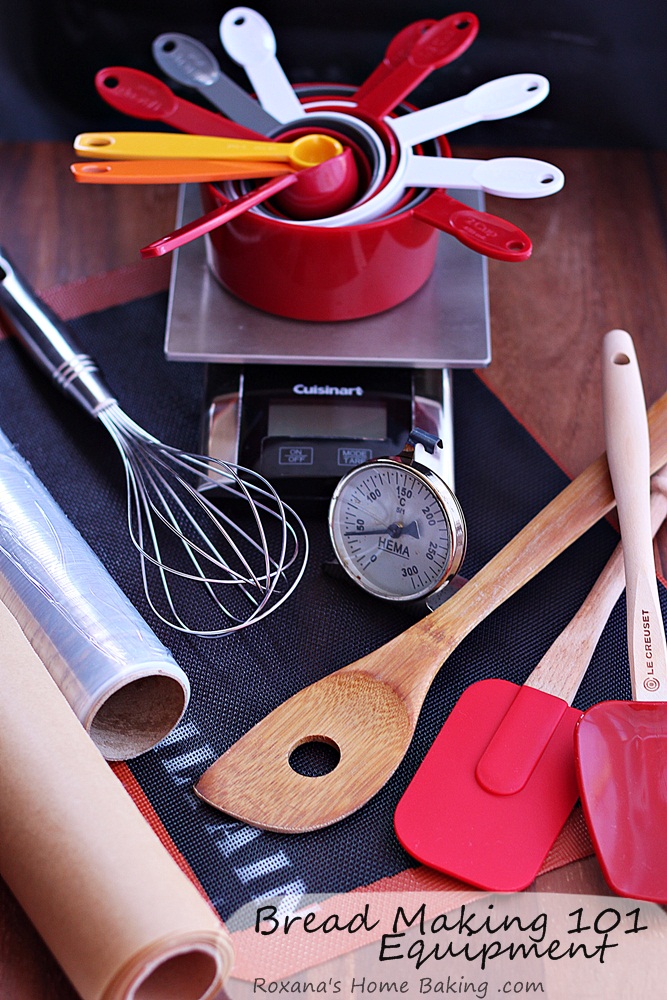
And taking about successful baking, another “must-have” kitchen gadget is the Digital Scale.
I own a Cuisinart Digital Scale and had it for over 2 years now. It’s been used and re-used and I don’t know what I’d do without it.
I use it for almost every dry ingredient (except salt/pepper/spices) and sometimes even for wet ingredients like butter, sour-cream, yogurt and few others. Using a digital scale is the most accurate measuring system ever. I prefer weighting in grams but if you prefer you can use ounces. Most of the digital scales come with the option of reading both in grams and ounces. All you have to do is set it up by pressing the tare button. Also the tare button lets you reset the scale to zero after you placed an empty bowl on it or added some of the ingredients.
To test if your scale is accurate weight a stick of butter or a chocolate bar (without the wrapping). A stick of butter should read 113 grams and the weight of the chocolate bar you’ll find it on the wrapping.
For measuring ingredients you can also use measuring spoons and cups. I have several sets and sizes, from a pinch to 2 cups but only use them for wet ingredients.
To make those irresistible picture perfect loaves of bread you’ll need mixing bowls and resting bowls or bannetons.
The mixer bowl, just like its name suggests is used to mix all the ingredients to form the dough. if you own a stand-up mixer, it comes with a bowl, you don’t need an extra one although I’m pretty sure most of us have plenty of mixing bowls in the kitchen.
To make the dough without a stand-up mixer you’ll need a whisk and a dough whisk (also known as Danish dough whisk). I usually use a good whisk to mix the yeast with the water and keep using it until the dough becomes thick enough for it then I switch to the dough whisk. Eventually the dough will be hard to mix with the dough whisk also and you’ll do the work with your hands, but will talk more about this in the baking bread part.
Resting/proofing/rising bowls are used to let the dough rest at room temperature until it doubles in volume. Remember to always grease your bowl before placing the dough in it. You can also use a rising bucket or a banneton, mostly used for artisan bread.
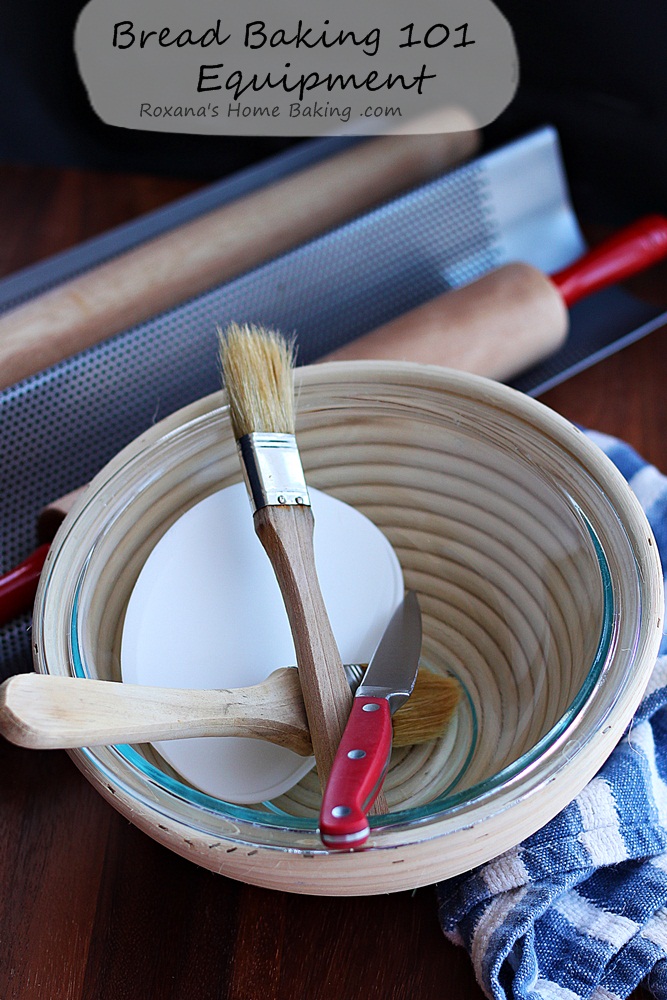
Bannetons are baskets made from cane (cloth lined or not) that are used to proof dough for round or oval-shaped bread (country or artisan). Unlike the resting bowls, the bannetons need to be floured before you let the dough rise in it, otherwise it will stick to the bowl.
When left to rest the dough has to be covered. I prefer plastic wrap since it doesn’t allow air to get in contact with the dough drying it out. Some bakers prefer a cotton towel and for shaping baquettes a couche (I do not own one, but it’s on my wish list). It’s just a preference, you’ll have to try it out before you decide which one to use.
Spatulas, spoonnulas or simply a wooden spoon are used to scrape the batter from the sides of the mixing bowls and from the dough whisk/hook. Also they are used to spread the filling when making rolls.
Also for scrapping the work/knead area you’ll need a bench knifes also known dough cutters. They come in different sizes, and made either from metal with a plastic/wooden handle or completely made of plastic. I have plastic one, it’s just a personal preference. With the metal ones you can cut the dough and even transfer it from one area to another.
Rolling pins are used for rolling out the dough for swirl breads, crescents, rolls, pizza crust etc.
Lame or scoring knife. For fear I cut my fingers while searching for a lame in the drawer I prefer a small pairing knife to score/cut the surface of the bread just before baking. Some find it easier to score before the last rise. I don’t think there’s a difference in the final results. The scoring is usually done for banquettes type of breads to allow maximum expansion and also control the direction the bread will rise during baking. Artisan breads are also scored mostly to create beautiful unique patterns.
There is a difference between slashing a shaped bread before or after rising, though. If you bake heavy whole grain loaves, and score them just before baking, the cut might not open up enough to give the bread an attractive look. I score those breads always before they proof, and sometimes even twice, before and after rising. Karin of Brot & Bread
Parchment paper and silicone baking mats are used to prevent the bread from sticking to the baking sheet while in the oven. Alternately you can grease the baking sheets and sprinkle some cornmeal.
Pastry brushes are used to brush the loaves with egg wash, butter or milk. Pick a brush with soft hair.
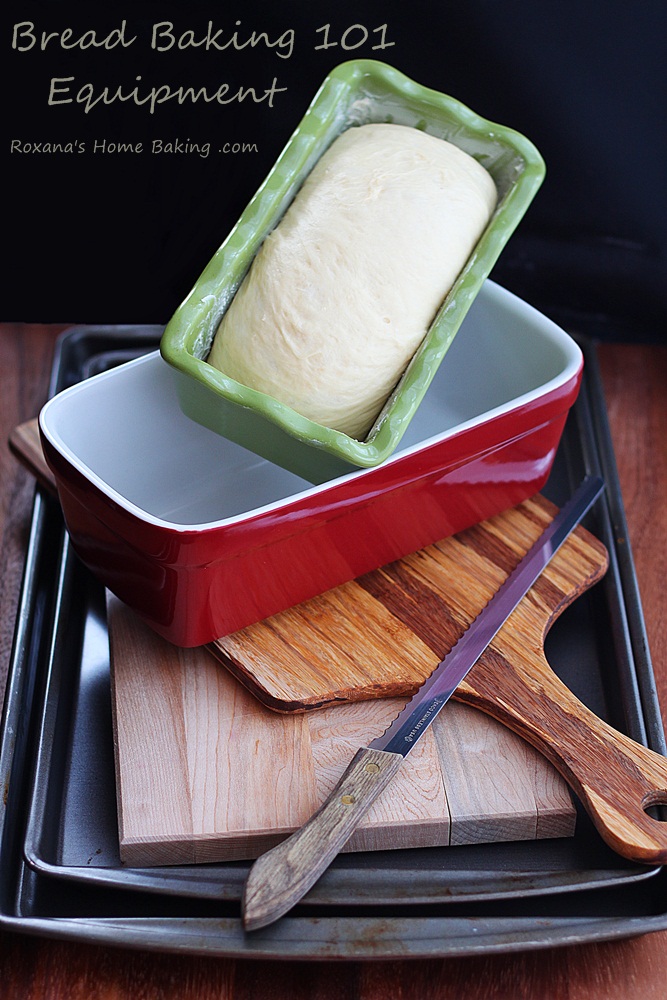
Baking pans and sheets are used to bake the bread on or in them. Most loaf pans used in bread baking are 9 by 5 and 8½ by 4½ inch. Nowadays you’ll find loaf pans made from aluminium, ceramic (my favorite) and glass (Pyrex). Keep in mind when baking in a glass pan to lower the oven temperature by 25F. (they tend to absorb heat faster). Although I love my ceramic pans I plan on buying a Pullman pan this year.
Choose baking sheets, especially for bread baking, that are heavy gauge so they don’t warp in the oven.
Baking stone or pizza stone is a heavy flat stone that’s placed on the lowest rack in the oven to mimic the heat of a brick oven. It’s usually used fro artisan breads and pizzas. If you’d like to use one make sure you heated it up for at least one hour. Keep in mind never ever drop cold water on a hot baking stone. It will crack!
A wooden peel or baker’s peel is used to slide the loaf on the hot baking stone. It’s a thin version of the cutting board with a wooden handle. I do not own a baker’s peel per-se since it’s quite big, but I found a light wooden cutting board that does a great job.
Cooling racks are used to properly cool a loaf of bread. Usually bread is left 3-5 minutes in the baking pan and then removed and left to cool on a baking sheet. if you leave the bread to cool completely in the pan and even on the baking sheet, the bottom crust with sweat making it sort of soggy.
Wooden cutting board and serrated knife. Time to finally enjoy a slice of bread! For a great slice always use a serrated knife and cut the bread with a sawing motion.
I didn’t mention a stand-up mixer because you can definitely make bread without one. I’ve done it and still do, although the mixer is a time saver since I can do other things while it kneads the dough.
Except the Pullman pan and couche I mentioned earlier I plan on buying an oval banneton (this time maybe try a cloth lined one), this brick oven and (fingers crossed) upgrade to a 7 quart Kitchen Aid stand up mixer.
~~~~~~
Sending love your way,
Roxana
Comments