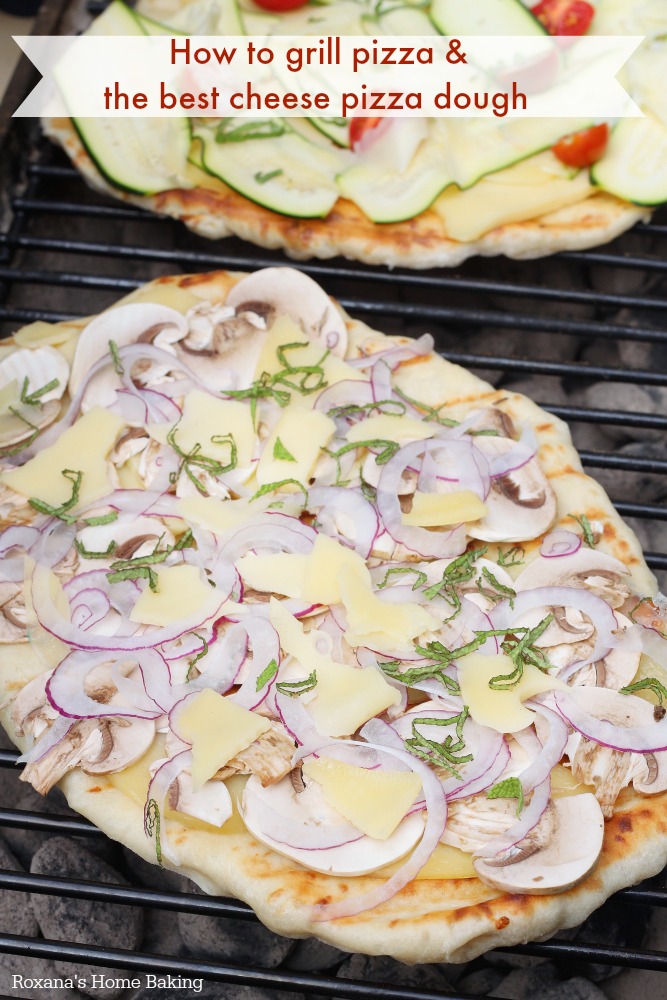
Learn the secrets to perfecting grilled pizza by following these easy steps and get the recipe for my favorite cheese pizza dough.
There’s no secret I love to bake but from time to time I turn off the oven and relax in a chair on out back deck and watch my husband firing up the grill. We don’t have a big fancy grill but our little charcoal grill is enough for the three of us. Vegetables, meat or fruit , we make it work.
Unfortunately my relaxing time came to an end the moment I suggested we cook pizza of the grill. Yeah, I wasn’t playing smart. But it’s OK. After a few burned pizzas I figured out how to make a grilled pizza that leaves my family award me the mom of the year.
And not just grilled pizza, but pizza made with dough made from scratch and packed with shredded cheese leaving my family oohing and aahing all day long. 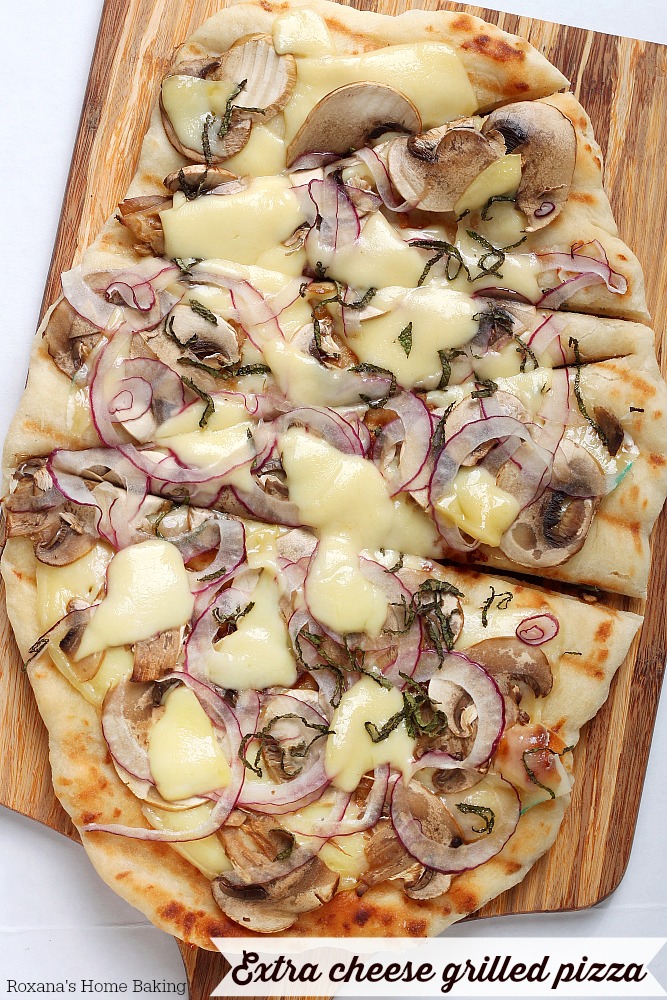
Secrets to perfecting grilled pizza
First and the most important tip is being organized. Before you even fire up the grill make sure you have all your toppings handy, the extra baking sheet, the pastry brush, oil,, scissors, salt and pepper. There’s no such thing as over-prepared when it comes to grilled pizza.
Once you have everything in place it’s time to fire up the grill. Heat the grill until the internal temperature reaches 450F but no more than 500F. Since your grill it’s going to be that hot, the pizza will only take few minutes to cook.
As much as I try, I can not place the toppings on my pizza while still on the grill. If you’re like me, once the pizza is lightly brown on one side, remove it from the oven, flip it, arrange the toppings on the grilled side and return it to the grill. Make sure your grill’s lid is closed all the time. This ensure the grill’s temperature is still above 400F.
Knowing that grilled pizza takes only 7-9 minutes to cook it’s very important to not be heavily topped or you’ll end up with toppings not fully cooked. 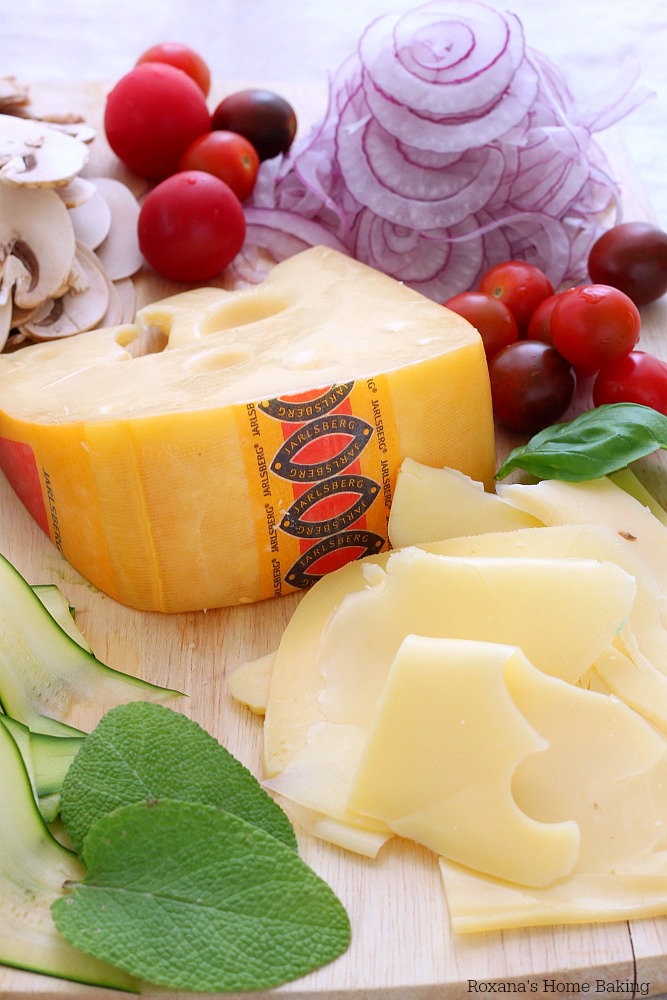
Let’s talk toppings!
I love vegetables on my pizza. Since I don’t cake much for tomato sauce, I skip it completely and just top my pizza with thinly sliced vegetables and a whole lot of cheese!
I use my OXO mandolin to cut veggies like onions, garlic, zucchini, mushroom but also to slice the cheese. Since I don’t use tomatoes sauce, I use halved or quartered grape tomatoes.
Alternately, you can partial cook your vegetables or grill them ahead of time.
If you’re using meat, it must be fully cooked!
What are your secrets for the perfect grilled pizza? please share your tips in the comments below.
Connect with Jarlsberg
{ website} | { facebook } | { twitter } | { instagram }
Yields 4 pizzas
Topped with shaved vegetables and cheese and cooked on the hot grill, this grilled pizza will soon be your favorite outdoor summer treat
30 minPrep Time
10 minCook Time
2 hr, 30 Total Time
 Save Recipe
Ingredients
- 4 cups (480 grams) all purpose flour
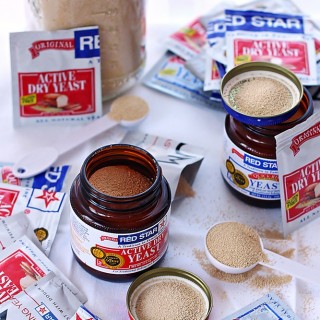
- 1 envelope (7 grams) active dry yeast
- 1/3 cup (80 ml) lukewarm water
- 4 oz shredded Jarlsberg cheese
- 1/4 cup olive oil
- 1 teaspoon salt
- 3/4 to 1 cup water
- olive oil
- thinly sliced mushrooms, onions, zucchini
- small tomatoes halved or quartered
- thinly sliced Jarlsberg cheese
- fresh herbs
- salt and pepper
Instructions
- Add the flour to a mixing bowl. Make a well in the middle and pour 1/3 cup lukewarm water. Sprinkle the active dry yeast over the water and let sit at room temperature until the yeast is dissolved and foam appears at the surface, about 5-7 minutes.
- Attach the dough hook to your stand-mixer. Add the shredded cheese, olive oil and salt to the mixing bowl, over the flour.
- Turn the mixer on and on low speed star kneading the dough, slowly adding enough water to make a smooth and elastic pizza dough. I suggest starting with 1/2 cup water and from there add as much as needed.
- Remove the dough from the mixing bowl, shape it into a ball and place it into a greased bowl. Cover with plastic wrap and let sit at room temperature until doubled in volume, about 1 hour to 1 hour and 30 minutes.
- Meanwhile prepare your toppings. I prefer thinly slices of mushrooms, zucchini, onions and garlic and of course lots of cheese. You’ll also need fresh tomatoes and fresh herbs. Basil, thyme, sage, oregano - which ones you prefer.
- I highly recommend slicing the vegetables the same thickness - his ensures they all cook in the same time and you won’t end up with some charred vegetables while others are still not cooked all the way through.
- If you prefer to top your pizza with meat, you must use already cooked meat cut into bite-size pieces.
- Heat the grill to a temperature of 450F to 500F.
- Once the dough is risen, divide it into 4 pieces.
- On a floured surface roll two pieces of dough into circles. Brush the pizza circles with olive oil.
- Place them on the hot grill. Close the grill lid and cook for 2-3 minutes, depending on how thick your pizza crust is or until the bottom has begun to brown and bubbles of air are formed on the top side.
- Carefully, with a big spatula or tongs, remove the pizzas from the grill and place them on a baking sheet or cutting board. Flip it so the grilled side is facing up.
- Lightly brush the pizzas with olive oil, add few slices of cheese and top with vegetables or meat and few more pieces of cheese. Sprinkle with fresh chopped herbs, salt and pepper.
- Keep in mind your pizza should not be heavily loaded or it won’t cook properly.
- Return the pizzas to the grill, close with the lid and cook for an additional 5 minutes.
- Open the grill and check the pizzas. The edges should be lightly browned and the cheese all melted.
- Carefully remove from the grill, let sit for 1-2 minutes before slicing them.
- Do the same with the remaining two pizzas.
Disclosure – this post is sponsored by Jarlsberg. Although I’ve been monetary compensated to develop the recipe and write this post, the opinions expressed are all mine.

Comments